
Last updated November 21, 2026
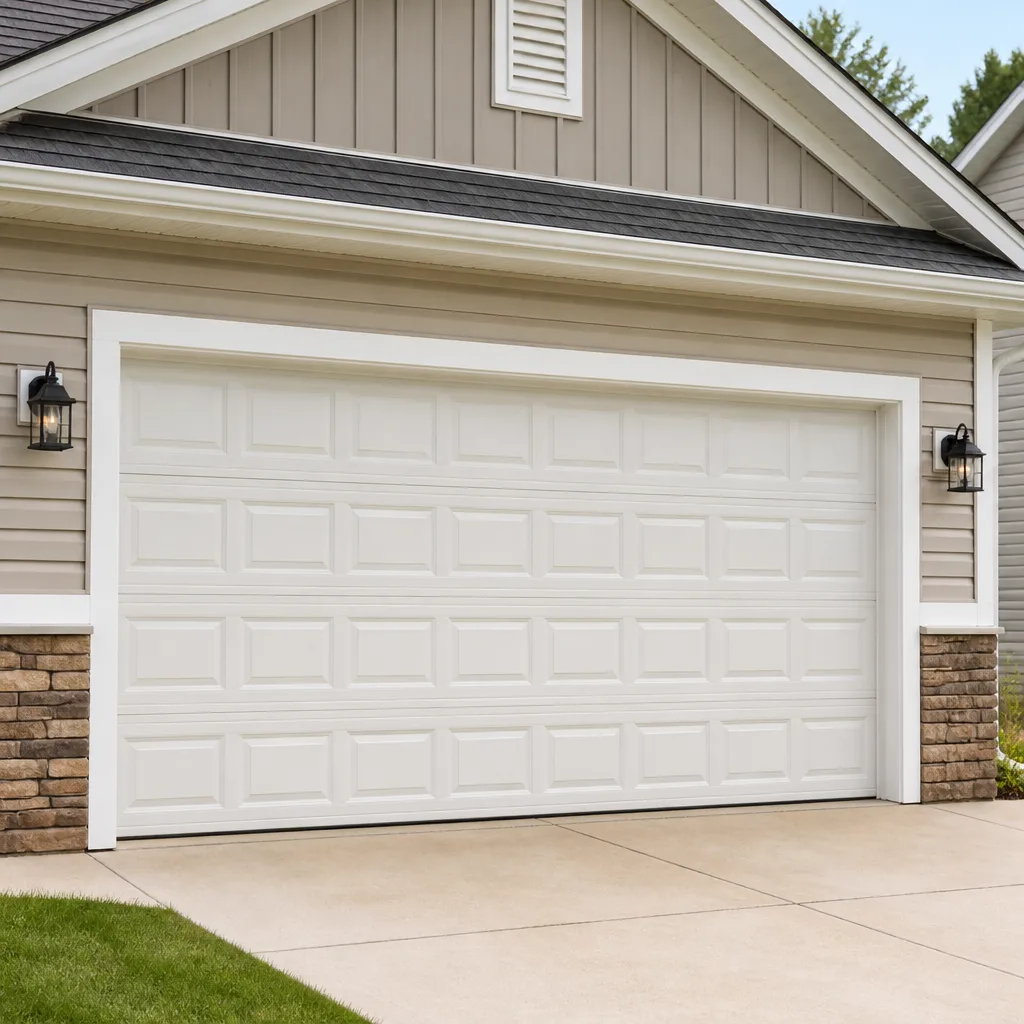 Raised-panel steel
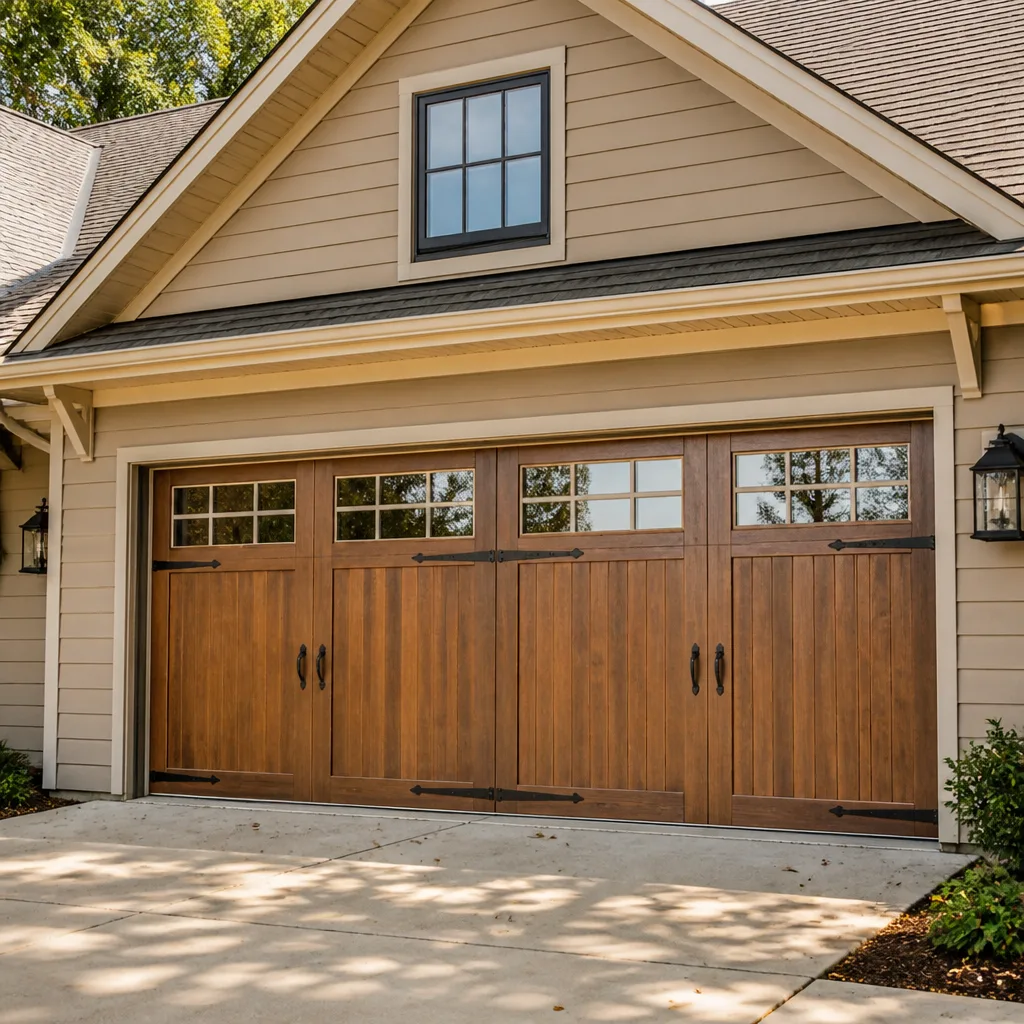 Carriage house
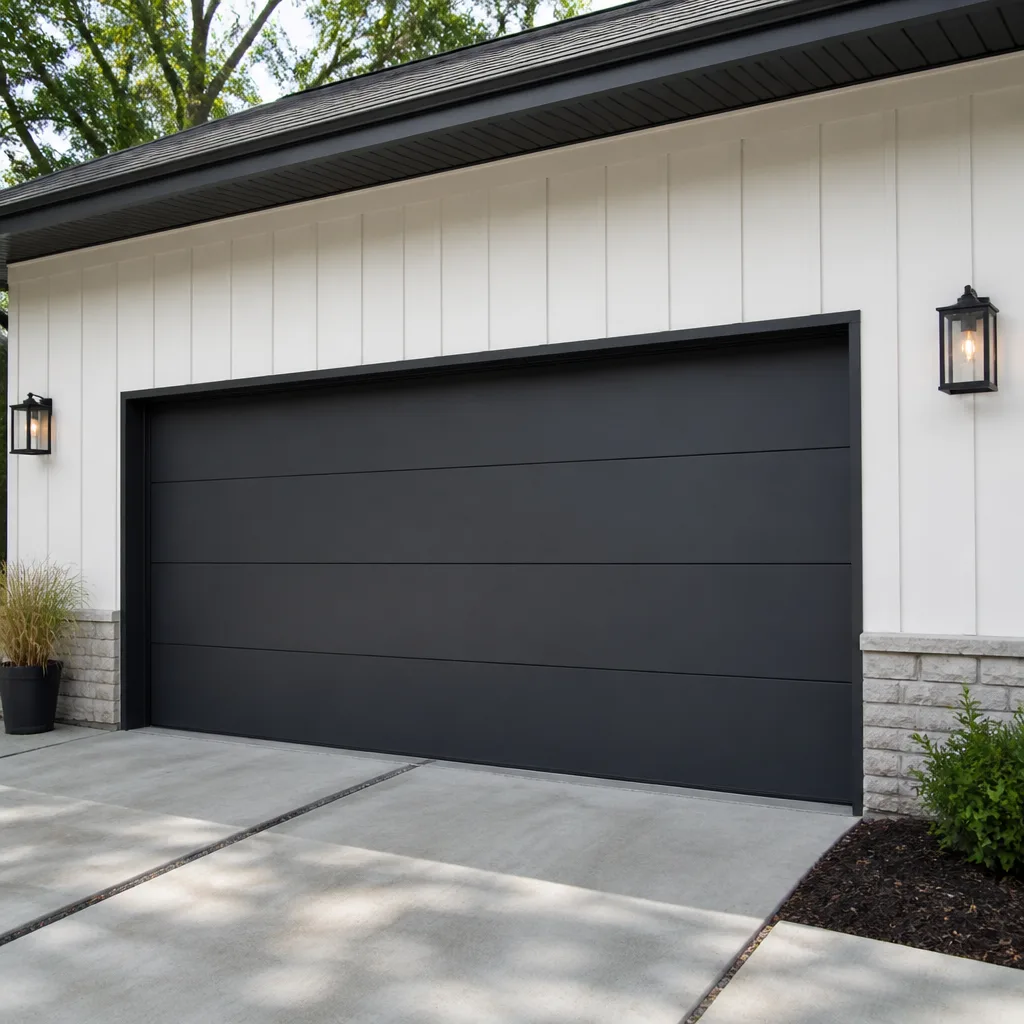 Modern flush
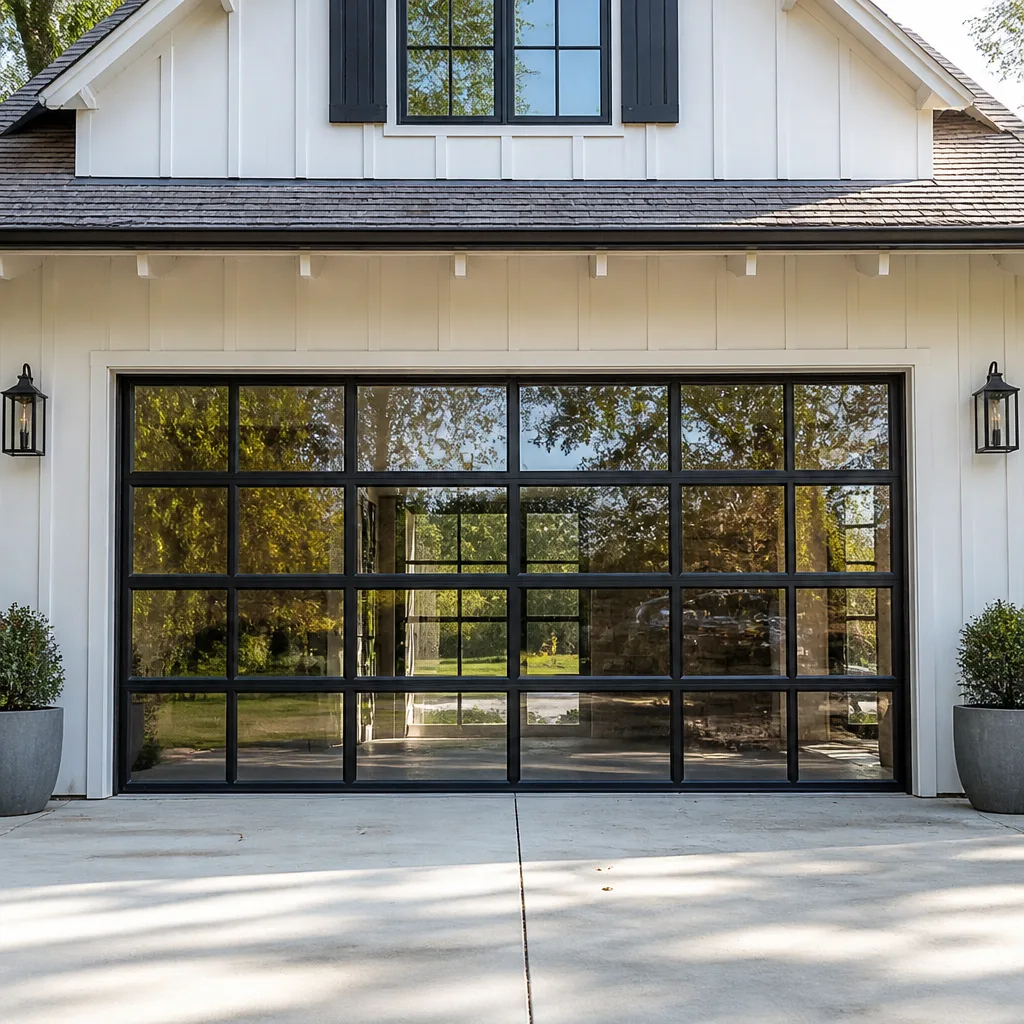 Full-view glass
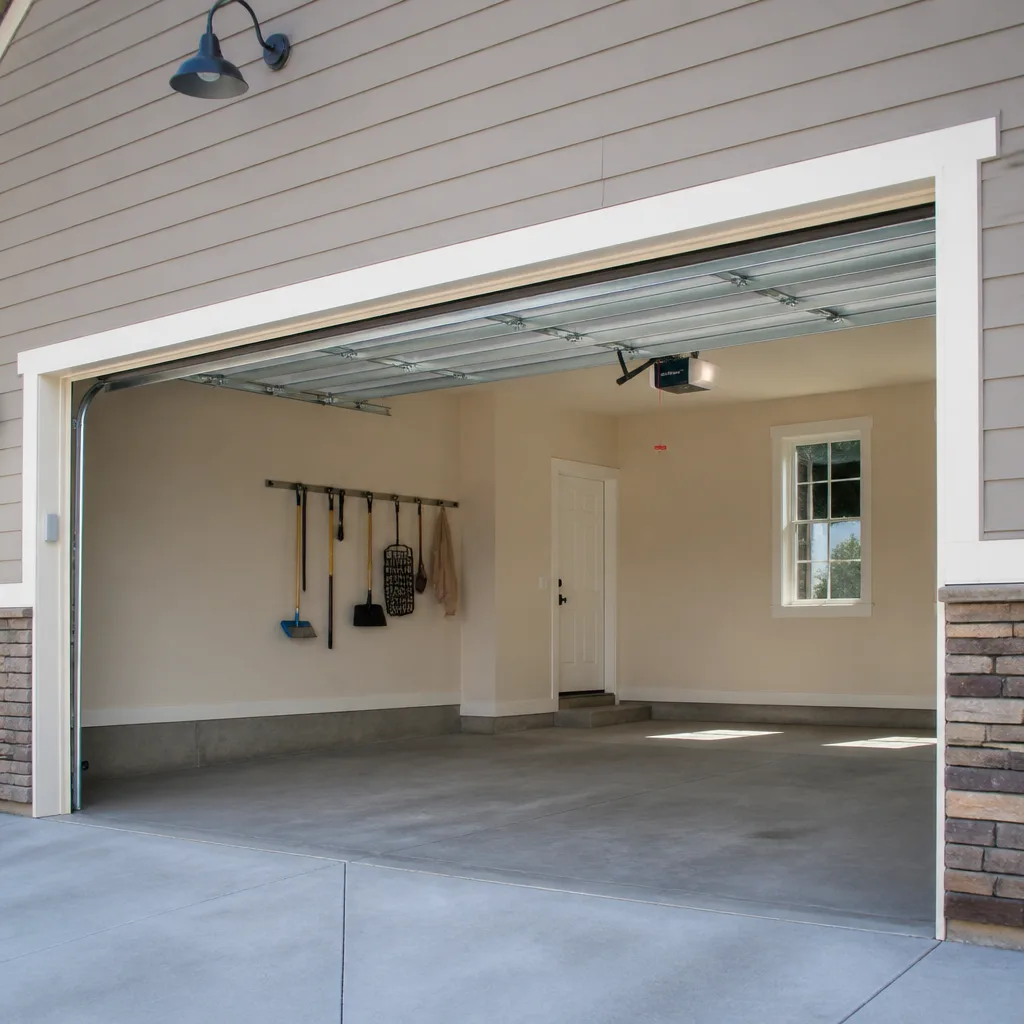 LiftMaster openers
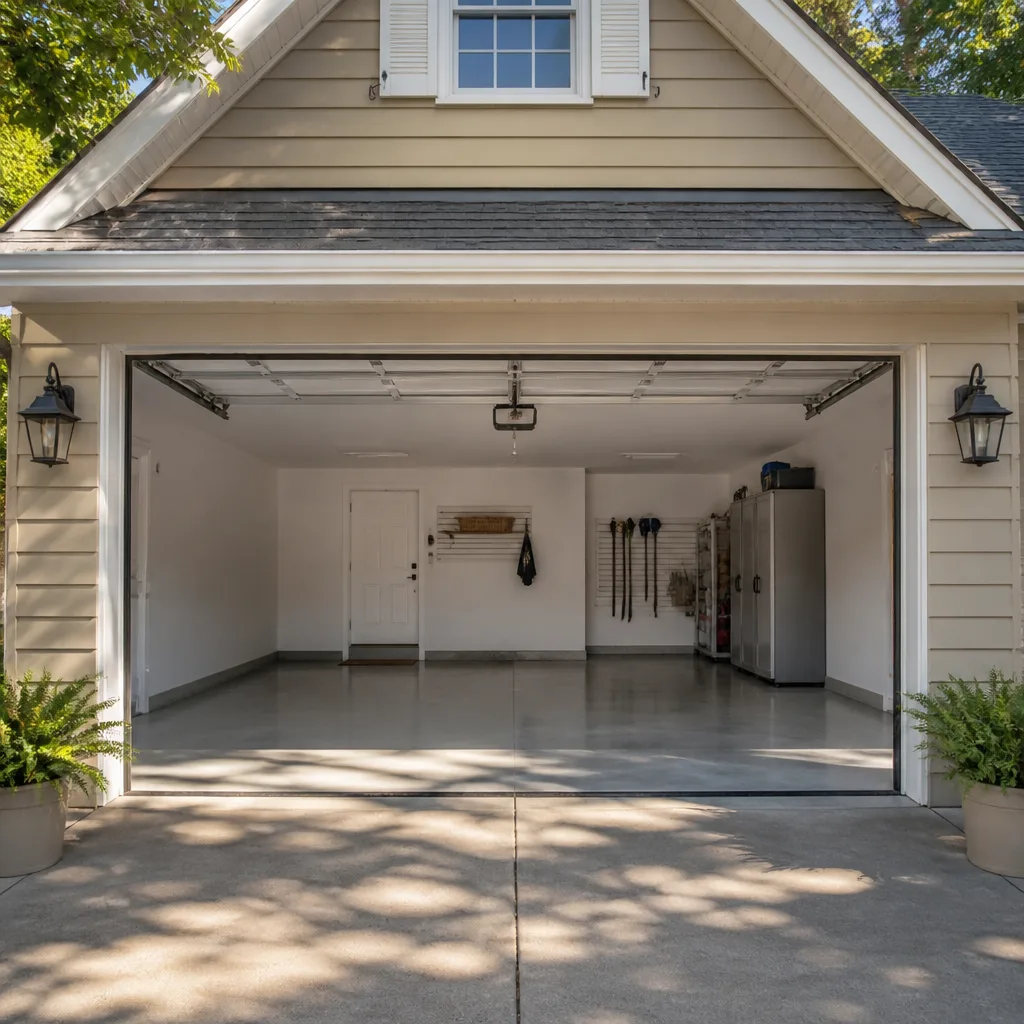 Chamberlain openers
Full 25-point door and opener safety check with every visit - springs, cables, rollers, tracks, and your LiftMaster or Chamberlain opener included
You get a price before we start. It does not change when the pro arrives.
Get your free estimateDIY vs Professional Garage Door: The Park Hill Homeowner’s Decision Guide
A torsion spring holds enough stored energy to do serious damage in a fraction of a second, and that single fact tends to scramble the whole DIY-versus-professional conversation. Homeowners hear it and swing to one extreme or the other: never touch the door, or watch a few videos and treat the whole system as a weekend project. Neither is right. The real answer is that a garage door is a collection of jobs with very different risk profiles, and the smart move is to sort them instead of blanket-deciding. This guide draws that line task by task for Park Hill homeowners, so you can handle the safe work yourself and know precisely when to stop and call.
Quick Answer
Most garage door maintenance is genuinely DIY-safe: cleaning tracks, lubricating moving parts, testing the balance, and adjusting a photo-eye. Spring replacement, cable work, and torsion hardware adjustment are professional-only because a failure can cause severe injury. Everything in between, like roller and weather seal swaps, depends on your tools and your comfort level. If a job touches stored tension or the lifting cables, that’s where DIY ends in Park Hill.
Styles & brands we work with
- Raised-panel steel
- Carriage house
- Modern flush
- Full-view glass
- LiftMaster openers
- Chamberlain openers
Table of Contents
- Why This Isn’t Really a Skill Question
- Category 1: DIY-Safe Tasks You Can Do This Weekend
- Category 2: DIY-Possible With Real Research
- Category 3: Professional-Only Work and Why
- The Tools That Decide It (and What They Cost)
- How to Diagnose Your Door Before You Call Anyone
- The Liability and Insurance Angle
- Realistic Time Estimates in Park Hill’s Housing Stock
Why This Isn’t Really a Skill Question
Ask ten homeowners whether they should fix their own garage door and you’ll get ten answers based on confidence, not the actual task. Confidence is the wrong measuring stick. What matters is what happens if the task goes wrong. A misaligned weather seal lets in a little draft. A misadjusted torsion spring can break a wrist or worse. Same garage, same afternoon, completely different consequences.
So we sort garage door work by consequence instead of difficulty. A task can be technically simple and still be professional-only if its failure mode is dangerous. Other tasks are fiddly but harmless if you get them wrong, which means they’re fair game for a careful homeowner with the right tools and an hour to spare.
Park Hill’s housing stock sharpens this. A lot of homes here were built decades apart, and that means garage doors in the neighborhood run the full range: older extension-spring doors on non-standard frames, mid-era doors with torsion setups, and newer doors with belt-drive openers and smart controllers. The task list doesn’t change by house, but the time and fit can. An older door with a non-standard track layout will fight you in ways a newer one won’t, and that’s exactly where a homeowner’s afternoon goes sideways.
This is also why “how hard is it” is the wrong first question. Ask “what’s the worst case if this fails,” then work backward. Below, we break the whole system into three honest categories.
Category 1: DIY-Safe Tasks You Can Do This Weekend
These jobs carry no stored-tension risk and no cable work, and a mistake costs you a return trip, not an injury. They’re the right place to start if you want to save a service call and learn your door.
- Lubricating hinges, rollers, and tracks. A garage door is a machine with moving parts, and most noisy, sluggish doors are simply dry. Use a garage-door-specific lubricant, not cooking spray or heavy grease, which attracts grit.
- Cleaning the tracks. A rag and a mild cleaner clear the grit that makes rollers drag. Do not bend or pry the track to “fix” alignment; that’s a different task. Clean it, don’t reshape it.
- Testing the balance of the door. Disconnect the opener, lift the door by hand to about halfway, and let go. A well-balanced door holds roughly in place. If it slams down or drifts hard, that’s information for a professional, not a DIY fix.
- Testing and aligning the safety photo-eye. The small sensors near the floor should have a clear, unobstructed line to each other. If the door reverses for no reason, check for cobwebs, a knocked sensor, or sunlight hitting the lens before assuming the opener is dead.
- Replacing the opener’s remote batteries and re-pairing remotes. Most “dead remote” calls are batteries or a pairing issue. This is a five-minute job and worth doing before you call anyone.
- Cleaning and visually inspecting the door panels and hardware. Look for loose bolts (snug them by hand with the right wrench, don’t overtighten), worn rollers, and rust spots. Inspection is free and catches problems early.
None of these require you to defeat a spring or touch a cable, and all of them make the door quieter, safer, and easier to diagnose later. If you own a socket set, a screwdriver, and a can of proper lubricant, you can handle this whole list in an afternoon in Park Hill.
Category 2: DIY-Possible With Real Research
These tasks are within reach for a patient homeowner who watches the specific video for their exact door model, buys the right part, and isn’t in a hurry. They’re not dangerous if done correctly, but “correctly” is doing real work here. Get them wrong and you’ll be calling a professional anyway, having spent the money and the afternoon.
- Replacing rollers. Straightforward on most doors, but you need the correct roller type and size for your track, and you’ll be working around a door that can move. Do this with the door closed and the opener disconnected, following the procedure for your specific model.
- Swapping the bottom weather seal. A common Park Hill job given our freeze-thaw winters, which crack and stiffen seals over time. Measure the width, match the profile, and it’s a satisfying afternoon fix.
- Replacing a wall-mounted opener button or a wired control. Usually low-voltage and simple, but confirm the wiring for your model before you start.
- Replacing the opener’s drive belt on a belt-drive unit. Doable for a careful homeowner with the model’s instructions in hand. This is where “I watched one video” stops being enough and reading your specific manual matters.
- Adjusting opener travel limits. If the door stops short or reverses before closing, the travel limits may need a small adjustment. Many modern openers from LiftMaster or Chamberlain walk you through this with a couple of button presses. Follow your model’s guide exactly.
The honest test for this category: do you know your exact model number, and are you willing to read the manual instead of guessing? If yes, most of these are yours to try. If you’d rather not, that’s not failure; it’s judgment, and a professional handles these quickly without the learning curve.
Category 3: Professional-Only Work and Why
Here’s where we stop being diplomatic. These tasks involve stored mechanical energy or the cables and hardware that manage the entire weight of the door. A mistake here isn’t a wasted afternoon; it can be a serious injury. We don’t hand out step-by-step instructions for these, because the right move is a trained technician, not a risk taken with a tool in your hand.
- Torsion spring replacement or adjustment. The torsion spring at the top of the door holds enormous stored force. Releasing or adjusting it without the correct winding bars and training is how people get badly hurt. This is the single most dangerous job in the trade, full stop.
- Extension spring replacement. The springs along the sides of older doors store the same kind of energy in a different form. A snapping extension spring can send hardware flying. Professional-only.
- Cable replacement and adjustment. The lifting cables are under high tension and are what actually hold the door’s weight. Frayed or snapped cables are a call-a-professional situation, and you should keep the door closed and untouched until someone qualified looks at it.
- Track replacement or major re-alignment. Bent tracks and door panels that have jumped the track involve the door’s weight and alignment at once. A professional has the tools to support and re-seat it safely.
- Replacing or re-tensioning the torsion tube and drums. This is the hardware that manages the spring’s force. Same reasoning: stored energy, professional hands.
We work on these jobs across Park Hill regularly, and we do them in-house because the skill and the safety matter. If your door is dead and you suspect a spring or a cable, the honest answer is to leave it alone and get someone out. That’s not us being protective of our trade; it’s the correct call for anyone who isn’t trained on stored tension. This is also the category where garage door repair skills and the right spring hardware matter more than a general handyman’s tool kit.
The Tools That Decide It (and What They Cost)
Before you commit to a DIY task, price the tools against the cost of the call. Sometimes the tool reasoning decides for you: if a job needs a tool you don’t own and won’t use again, the math tilts toward professional help. Here’s the honest tool list for the DIY-safe and DIY-possible categories, and what it means if you don’t own them.
- A proper garage-door lubricant. Inexpensive and reusable. Worth owning regardless.
- A socket set and screwdrivers. Most homeowners already have these. If not, they’re a reasonable one-time purchase that pays off across every future household job.
- Winding bars for torsion springs. These are the tool that makes spring work possible. But owning the tool is not the same as having the training; winding bars are not a DIY starter kit. If you’re eyeing this tool, that’s your signal to call a professional instead.
- A replacement roller set matched to your track. Buy the correct size. The wrong roller will squeal, wear the track, and send you back to the drawing board.
- A belt or part specific to your opener model. Match the model number exactly. Guessing on a LiftMaster or Genie part wastes money and time.
The guiding rule: if the tool is expensive, single-use, and the job is dangerous, don’t buy the tool. If the tool is cheap and reusable, and the job is harmless, go ahead and do it yourself.
How to Diagnose Your Door Before You Call Anyone
Half of what makes a service call feel expensive is a technician spending the first ten minutes figuring out what you could have told them. You can shortcut that with a five-minute diagnostic of your own. Use a numbered approach like this:
- Listen to the symptom. A grinding or scraping sound points to rollers or tracks. A bang or something that sounds like a gunshot from the ceiling is almost always a snapped torsion spring; stop and call. A door that moves an inch and stops often points to a sensor or travel-limit issue.
- Check the opener’s lights and error codes. Many modern openers blink a specific number of times to signal a fault. Grab your model’s manual and match the blink pattern before you assume the motor is dead.
- Test the safety sensors. Look for a solid light on both sensors. If one is dark, check for obstructions, dirt, or a misalignment.
- Test the balance by hand. With the door closed and the opener disconnected, lift it to halfway. If it won’t hold, the springs are the likely culprit. Don’t try to fix that yourself; just note it.
- Look at the cables. If you see a frayed or snapped cable, stop and call. Don’t run the opener.
- Write down the model numbers. Door and opener make/model. This alone saves diagnostic time on the call.
Do these six steps and you’ll know whether you’re facing a five-minute DIY fix or a professional-required repair. You’ll also save on diagnostic time, because you’ll hand the technician real information instead of “it won’t close.” On that note, if you own a Clopay door or a Chamberlain opener, note the exact series; parts matching is faster when the model is in hand.
The Liability and Insurance Angle
This is the part that rarely comes up in DIY videos. If a DIY spring job goes wrong and someone in your household is injured, your homeowner’s coverage can become complicated. Many policies contain exclusions or conditions around unpermitted or improperly performed mechanical work, and an injury caused by a DIY failure you made is not always cleanly covered. The exact answer lives in your policy, so read it or ask your agent rather than assume.
There’s a second angle beyond injury: a DIY repair that later fails and damages a car or the door itself can be treated differently from work performed by a licensed trade professional. We’re not your insurer and we won’t play one, but we can tell you that the spring-and-cable jobs are the ones where that risk is real. A homeowner in Park Hill who values their savings account should treat spring and cable work as a professional job for the liability reason as much as the safety one.
The upshot is simple: do the safe tasks, understand that the dangerous ones carry a risk that extends beyond a bruised ego, and let someone trained handle the stored-tension work.
Realistic Time Estimates in Park Hill’s Housing Stock
Here’s where most tutorials mislead you. Videos are filmed on a newer door, on a clean track, with the right part already in the presenter’s hand. That’s not what Park Hill garages usually look like. Older homes here often have non-standard frames, track layouts, and hardware that has been quietly modified over the years, and every one of those quirks adds time.
In our experience, a common DIY task on an older Park Hill door consistently runs about 40% longer than the tutorial suggests, sometimes more if you’re hunting for the right part. A 20-minute video becomes 30 minutes of actual work once you account for a stubborn bolt, a roller that won’t seat, or a track that’s slightly out of square. That’s normal, not a sign you’re doing it wrong.
So budget accordingly. If you’re a homeowner who can spare a slow afternoon and doesn’t mind a second trip to the hardware store, the DIY-safe tasks are worth it. If your schedule is tight and the door is on the fritz, the peace of mind of having it fixed in one visit is worth more than the saved labor. There’s no shame in either call; the point is to make it deliberately.
For a task like replacing a whole door or upgrading to a smarter opener, the calculation shifts entirely toward professional. A new door is a measured, ordered, scheduled job, not a weekend DIY swap. When you’re ready to look at that, our garage door installation work covers the full door and opener together so you’re not juggling two companies.
Common Mistakes to Avoid
- Using the wrong lubricant. Cooking spray or heavy grease attracts grit and makes a door dirtier and louder. Use a garage-door-specific lubricant and apply it to the moving parts, not the whole track.
- Bending the track to “fix” alignment. Track alignment needs the door’s weight managed and the right tools. Prying a track with a screwdriver makes it worse; that’s a professional call.
- Testing a suspected broken spring by running the opener. A door with a failed spring under opener power can come down hard or rip hardware loose. If you suspect a spring, stop using the opener and call.
- Buying a part by guess instead of model number. A roller or belt that’s close but not right wears the door. Match the model, especially on brand-specific equipment like a Genie or LiftMaster opener.
- Overtightening bolts during a “snug-up.” Hand-tight is right. Overtightening strips hardware and can distort the door panel.
- Ignoring the balance test. A door that won’t hold halfway is telling you the springs need attention. Ignoring it puts strain on the opener and the cables.
- Assuming a dead remote is a dead opener. Check batteries and pairing first, then the safety sensors, then the motor. Most “dead opener” calls are one of the first two.
See the difference
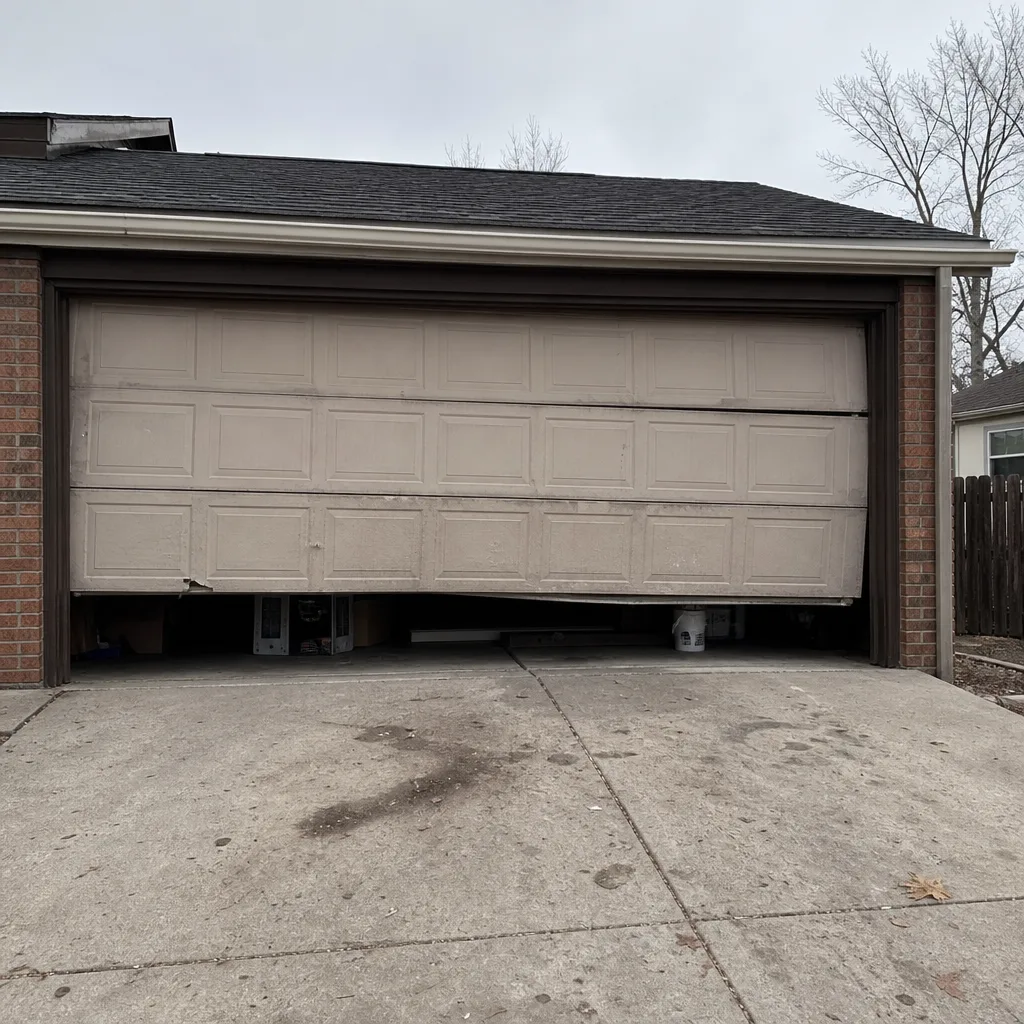 Before
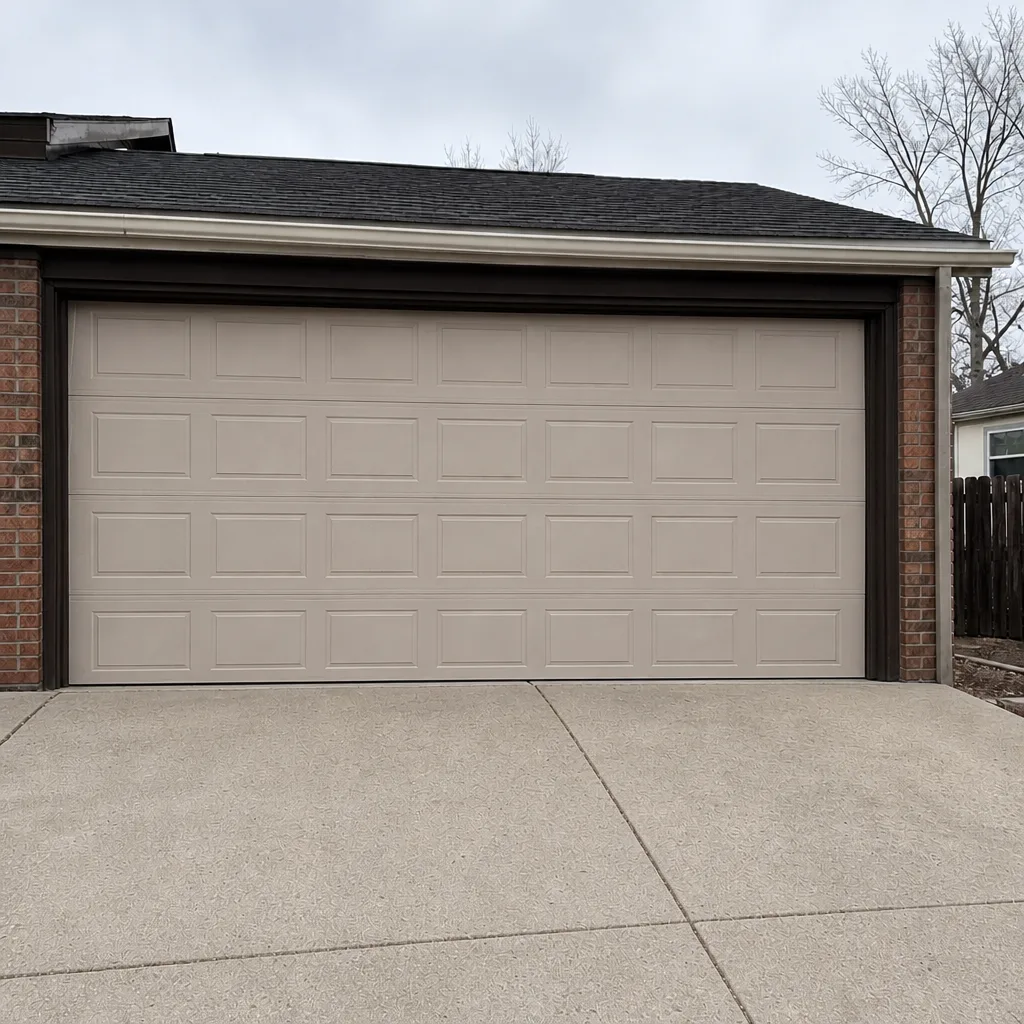 After
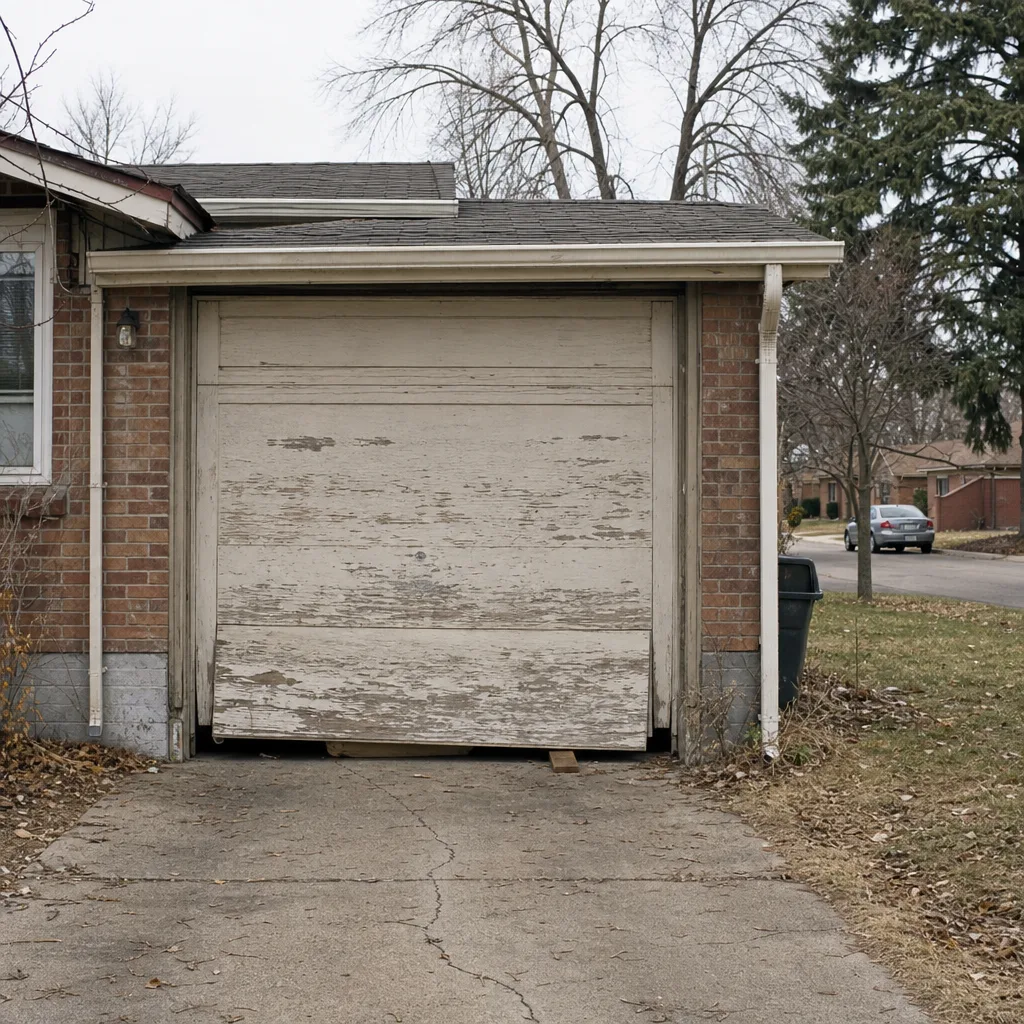 Before
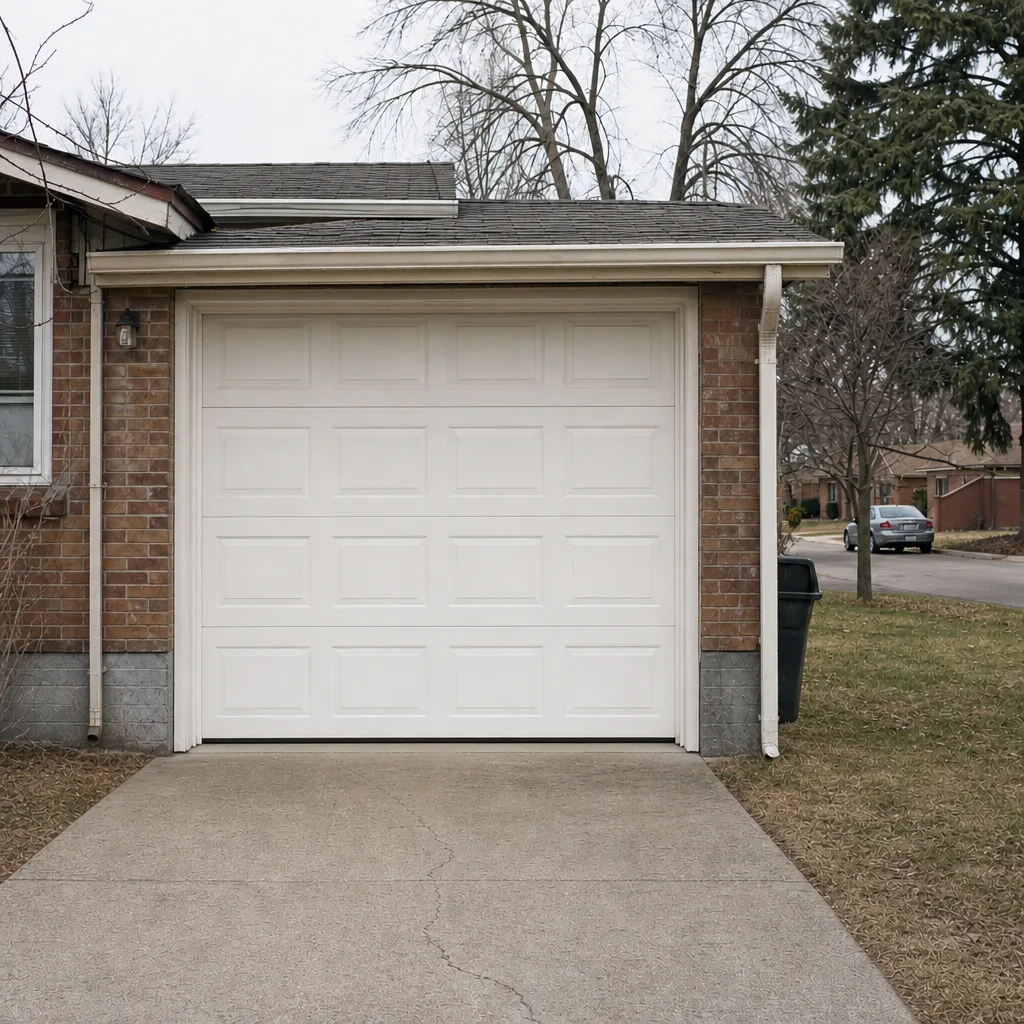 After
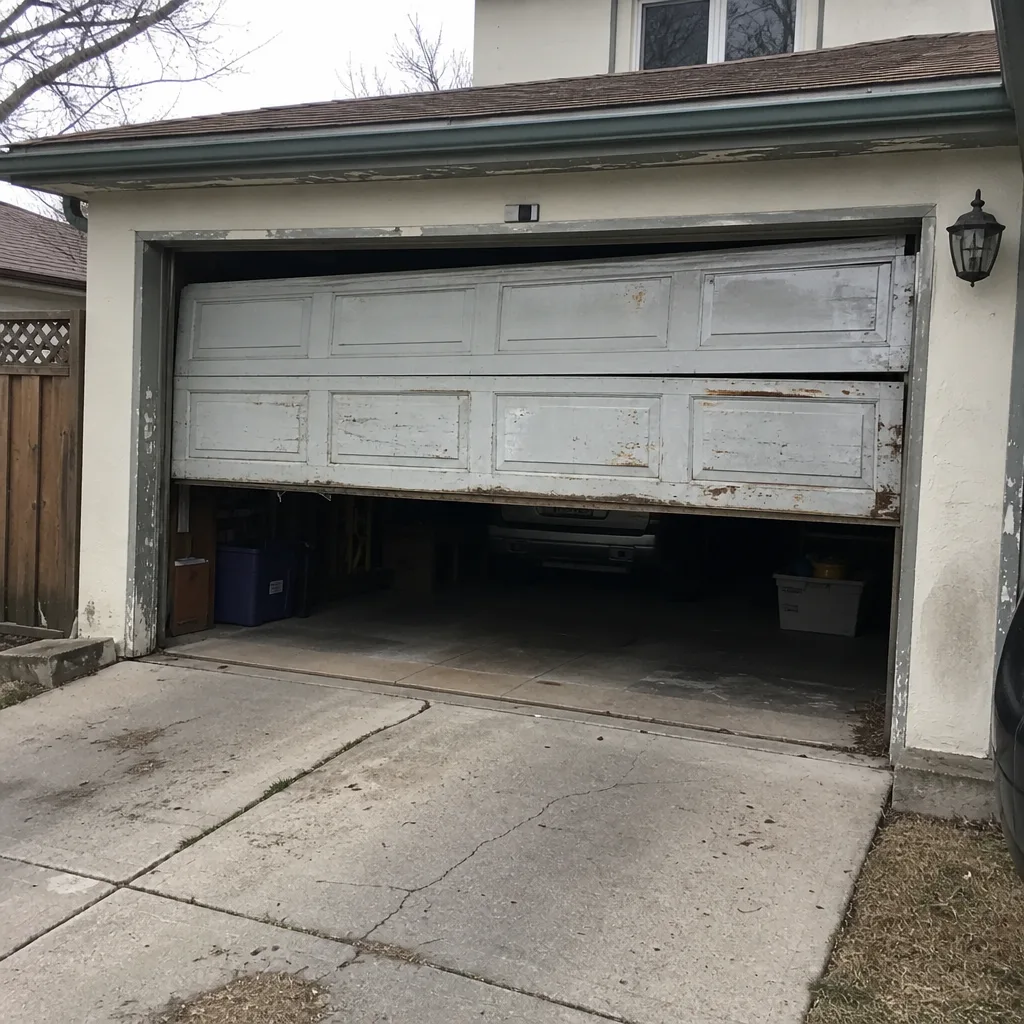 Before
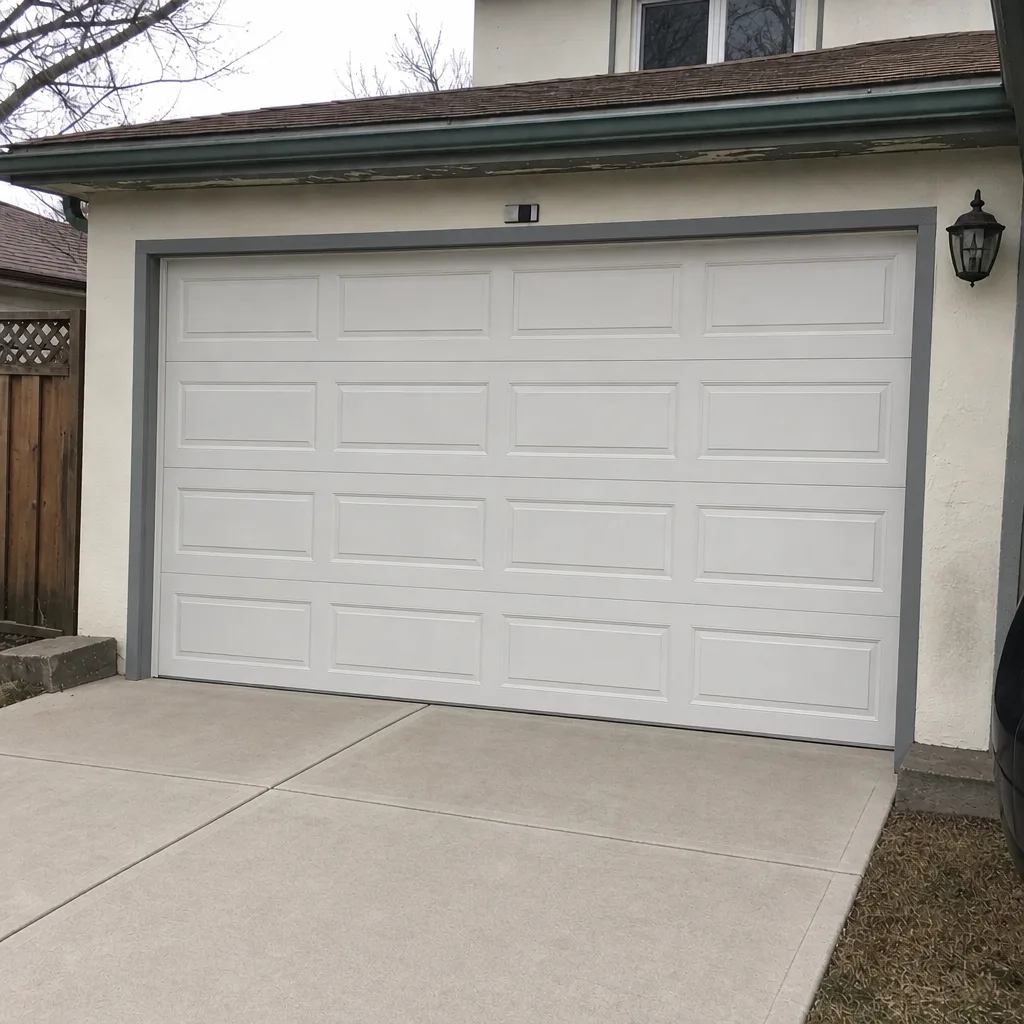 After
When to Call a Professional
Call a professional the moment the job touches a spring, a cable, the torsion tube, or track re-alignment. Call sooner if you see or hear a snapped spring, a frayed cable, or a door that has come off its track. Call if your door is older, non-standard, and the DIY task is fighting you; you’ll save the afternoon and the guesswork. Call if you’re uncomfortable being near stored tension, because that’s not a skill gap, that’s a sensible boundary. Garage Door Repair Park Hill offers free estimates in Park Hill, and we work on the brand you already own across LiftMaster, Chamberlain, Genie, and Clopay equipment. Call (888) 912-7130 and we’ll give you a written price before any work starts.
Frequently Asked Questions
No. Torsion and extension springs store enormous energy and releasing or adjusting them without professional training and the correct winding tools can cause severe injury. This is the one category where the honest answer is always a trained technician, not a DIY attempt. Call (888) 912-7130 for an estimate, and leave the door untouched in the meantime.
Lubricating hinges, rollers, and tracks; cleaning the tracks; testing the balance by hand; aligning the safety photo-eye; and changing remote batteries are all DIY-safe. They carry no stored-tension risk and a mistake costs you a return trip, not an injury. Many Park Hill homeowners handle this whole list in an afternoon.
The price depends on the job, and the written estimate sets the final number before any work begins. Spring, cable, and opener repairs are quoted per job, and a free estimate means you know the cost before you commit. Call (888) 912-7130 for a free estimate and an upfront price.
A door that reverses early usually has a safety-sensor problem or a travel-limit setting that needs a small adjustment. Check for a dirty or misaligned photo-eye and a model-specific travel limit before assuming the opener is failing. If the door won’t stay closed after those checks, call for garage door opener repair.
It can. Many policies contain exclusions or conditions around improperly performed mechanical work, and an injury from a DIY failure is not always cleanly covered. Read your own policy or ask your agent rather than assume. The safest route is to let a trained professional handle any spring or cable work.
Budget about 40% longer than the tutorial suggests. Older Park Hill homes often have non-standard frames and hardware, so a 20-minute video can become 30 minutes of real work once a stubborn bolt or a slightly out-of-square track enters the picture. That’s normal, and it’s the main reason some homeowners choose a service call instead.
The Bottom Line
The DIY-versus-professional question breaks down by consequence, not confidence. Safe tasks like lubricating, cleaning, balancing, and sensor checks are yours to do this weekend. Spring, cable, and track work belongs to a trained technician because the failure mode is a serious injury, not a wasted afternoon. Before you call, run the six-step diagnostic so you’re not paying for what you already know. For anything on the dangerous side, our team at Garage Door Repair Park Hill handles it with the proper tools and hardware. Call (888) 912-7130 for a free estimate; we answer 24/7, and we dispatch from 7am to 7pm, Sunday through Friday.
Written by the team at Garage Door Repair Park Hill.